
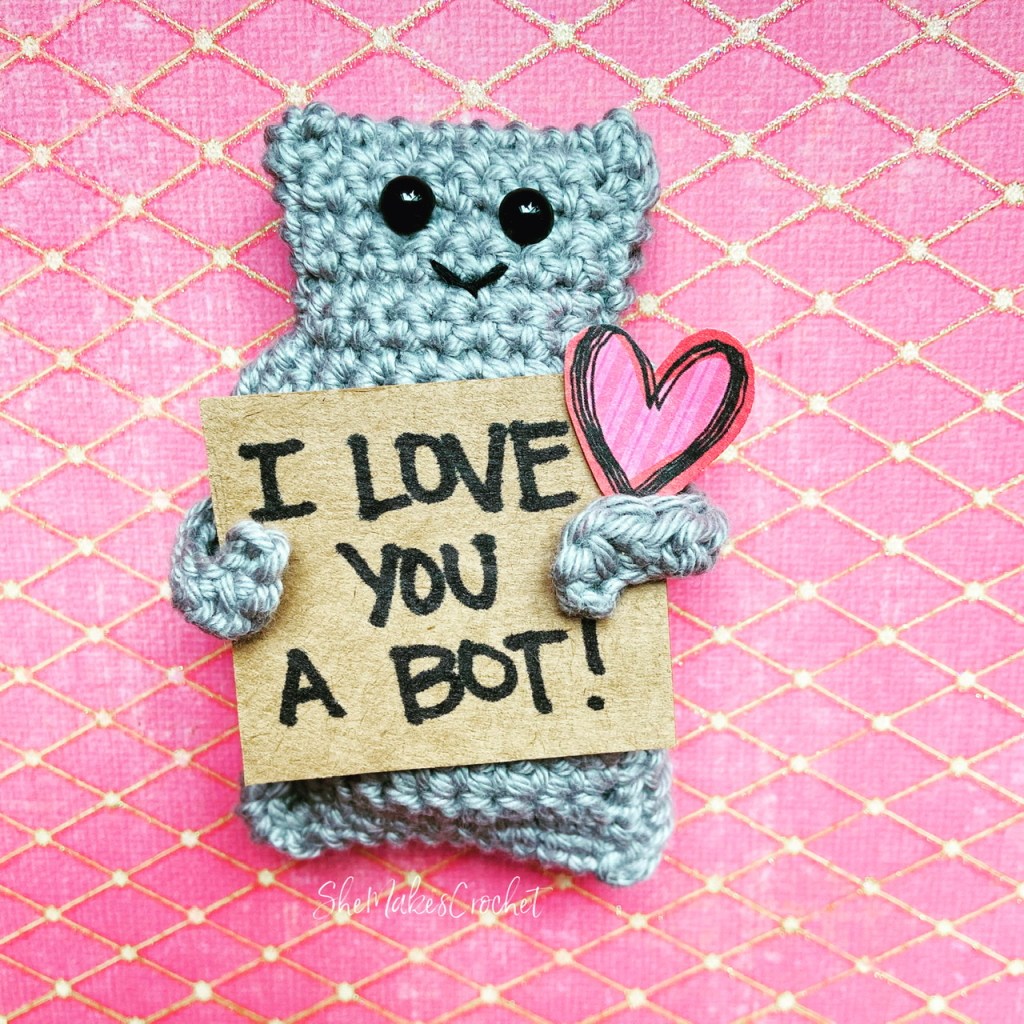
Did you guys know I have a lot of candygram patterns? Last year, I couldn’t stop making these. They are such a quick make. I have had it in the back of my mind to make a couple new ones for this year, but time has been getting away from me and I cannot believe it’s almost Valentine’s Day. I started to think it wouldn’t happen this year, but when I got the idea to make a robot, I quickly decided to combine these two projects and make a robot candygram.
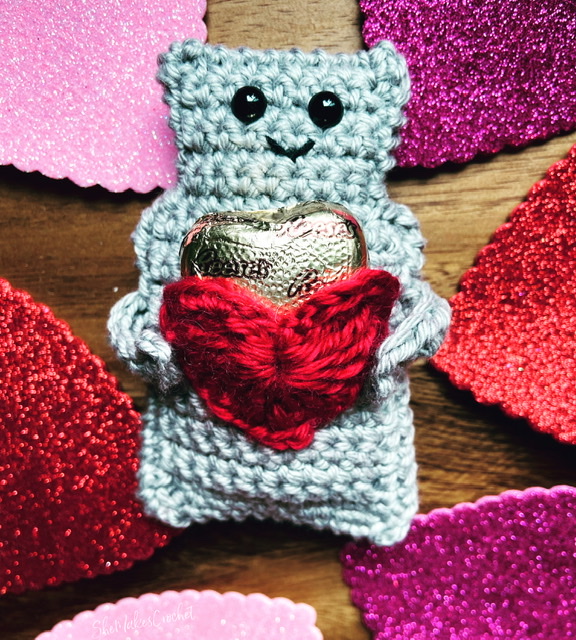

You can use these candygrams to deliver something like a lollipop or a pencil. Or you can attach the heart leaving it open like a pocket and stick a small chocolate inside. You can even use these candygrams to deliver a sweet message or gift card. Probably best of all, they are a super quick make and you probably have everything you need already at home
Supplies:
- Small amounts of yarn in various colors to achieve desired look. I used Dishie Cotton, which is a worsted weight yarn and Mighty Stitch for the heart.
- Main Color
- Heart Color
- 3.75 mm crochet hook
- Scissors
- Needle for sewing down yarn tails and stitching panels together
- Embroidery floss
- Needle for embroidery details
- 6 mm safety eyes (optional)
- Small amount of poly-fil or stuffing of choice
Note about supplies: This project can be easily customized to accommodate supplies you may already have on hand. Please be mindful of safety and durability when selecting embellishments, especially if you intend to give this to a child.
Finished Dimensions: Finished piece is approximately 4 inches tall
Abbreviations and stitches used:
- CH chain
- SC single crochet
- HDC half double crochet
- DC double crochet
- TR treble crochet
- SS slip stitch
Pattern Notes:
The beginning CH 1 or CH 2 at the start of rows does not count as a stitch throughout unless otherwise specified.
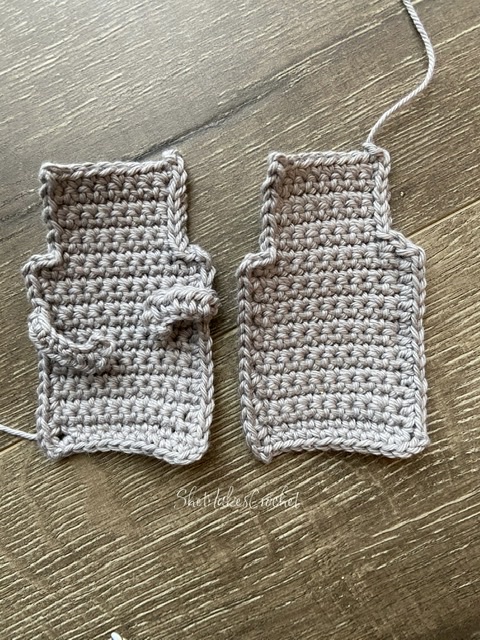
The panels are worked in one continuous piece meaning there is no cutting or attaching yarn! After working a basic rectangle and the head, the final “Row” will be to crochet around the perimeter and that’s when the arms get worked.
If you make one, you can use it like an applique. Or, and this is what I did, you can make 2 (omitting the arms on the second piece) and whip stitch them together allowing you to stuff them which instantly turns them into a pocket toy.
Pattern Front Panel:
Using main color
- Row 1: CH 11, SC in second CH from hook and in each remaining CH (10 SC)
- Row 2: CH 1, Turn. SC in each stitch across (10 SC)
- Rows 3-14: Repeat Row 2
- Row 15: CH 1, turn and make 9 SC — incomplete row.
Row 16: CH 1, turn and SC in first 8 stitches — incomplete row. - Row 17: CH 1, turn and SC in 8 stitches across.
- Rows 18-21: Repeat Row 17.
- Row 22: *this is the Row that is worked along the perimeter of the rectangle and will be broken down into sides*
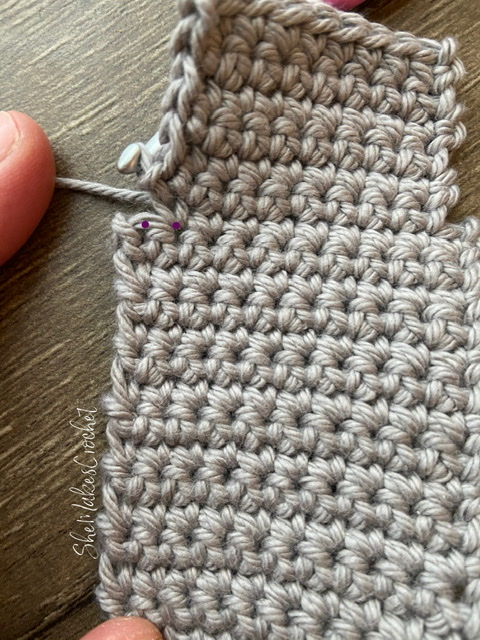
- Head: CH 1, rotate and work 7 SS down the side of the head. SS into the last 2 stitches of Row 14 to create the shoulder. See images below:
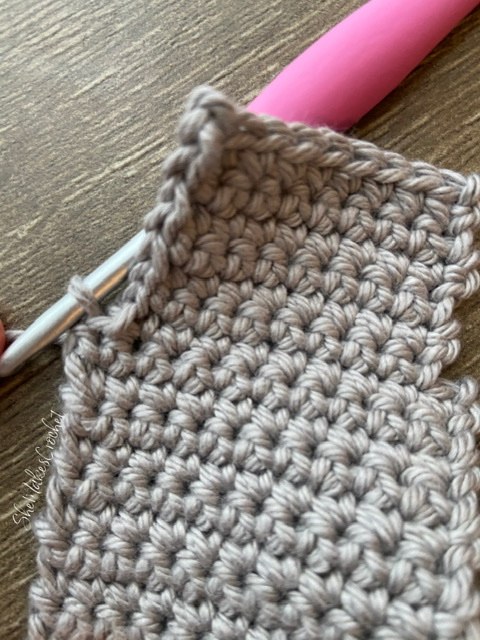
- Body/Arm: CH 1, rotate work and make 3 SC down the side of the body. SS in next. CH 10, turn and make 2 SC in the fourth CH from hook, HDC in next 5 CHs and SC in last creating an arm. SS into the next stitch of the side of the body. Then continue working 9 SC into the remaining stitches at the side of the body.
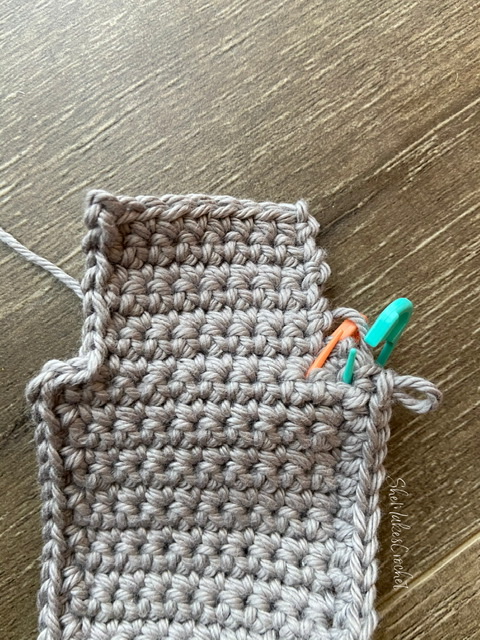
- Bottom: CH 3, rotate work and SC into each stitch across.
- Body/Arm: CH 3, rotate work and SC in the first 9 stitches of the edge. SS in next. CH 10, turn and make 2 SC in the fourth CH from hook, HDC in next 5 CHs and SC in last creating an arm. SS into the next stitch of the side of the body. Then continue working 3 SC into the remaining stitches at the side of the body.
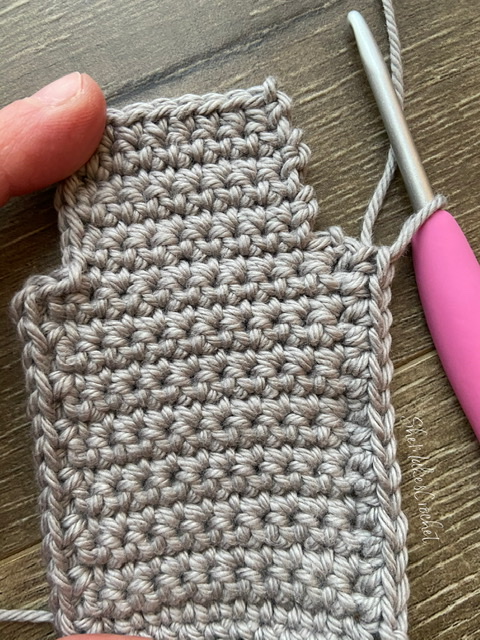
- Head: CH 1, rotate work and SS into the first 2 stitches of Row 14 ** See note! ** Then work 7 SS back up the side of the head, CH 1, turn and SS to join. Fasten off. NOTE: I did this for neatness and it requires you to work below the SC stitches in order to keep his shoulders level – see images below. If this is tricky for you, you can simply work in the SC stitch made in Row 15, I would recommend only making 6 SS up the side of the head in that case. Your shoulders may be slightly wonky – but then again it’s a robot and that would be adorable too!
If you would like to stuff your candygram, then make a second panel.
Pattern Back Panel:
Using main color, repeat the pattern instructions above with the following CHANGE. When working down the body/arm omit the arms. In other words: instead of “SS in next. CH 10, turn and make 2 SC in the fourth CH from hook, HDC in next 5 CHs and SC in last creating an arm. SS into the next stitch of the side of the body.” Work 2 SC stitches and continue with the instructions. Be sure to leave a very long tail to stitch the two panels together.
Assembly:
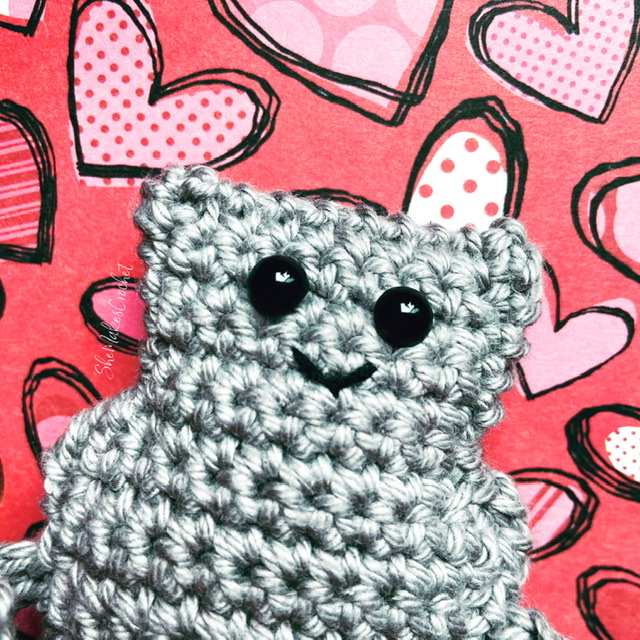
- Add a face onto the right side of the front panel – I used safety eyes and embroidered a simple mouth.
- Place the front and back panels together with the right sides facing to the outside (wrong sides facing the inside) and whip stitch along the perimeter using a long strand of the main color. Before closing the entire piece, insert a small amount of poly-fil and sew shut.
- Weave in any remaining ends.
Pattern Heart:
Using heart color
- Round 1: Magic ring, CH 2, 3 TR, 2 DC, HDC, CH 1, SC, CH 1, HDC, 2 DC, 3 TR, CH 2 and SS into ring. Pull to close, but don’t tighten all the way just yet.
- Round 2: CH 2, work 3 SC into first stitch, SC and HDC into next stitch, SC in next 4 stitches and SC into CH space, CH 1, DC into next stitch, CH 1, SC into CH space and SC in next 4 stitches, HDC and SC into next, 3 SC into last stitch, CH 2 and SS into the ring again.
- Break yarn and leave a long tail for stitching. Pull ring taught.
Putting It All Together:
Before proceeding, you should have an idea of what you will be inserting. Though, honestly, these are adorable Valentine’s on their own!

You may choose to stitch the hearts directly onto the body and make a stitch or two on the hands to pin them in place as if holding the heart. You may also choose to only stitch a portion of the heart onto the body so you can tuck a small treat like a piece of chocolate or lollipop inside. You could even stick a fun Valentine themed eraser or pencils inside. I think a special note would also be really sweet. I think it would be super adorable to add a short phrase to a foam heart cutout (think of those candy conversation hearts) and attach that to these candygrams. There are so many possibilities!
I would love to see what you make. You can can tag me on Facebook or Instagram – @shemakescrochet.
You are free to share your finished work, to include selling your finished products, but please credit me – SheMakesCrochet – as the pattern designer. Please do not distribute this pattern or any portion of it, instead direct people to my blog. THANK YOU!

