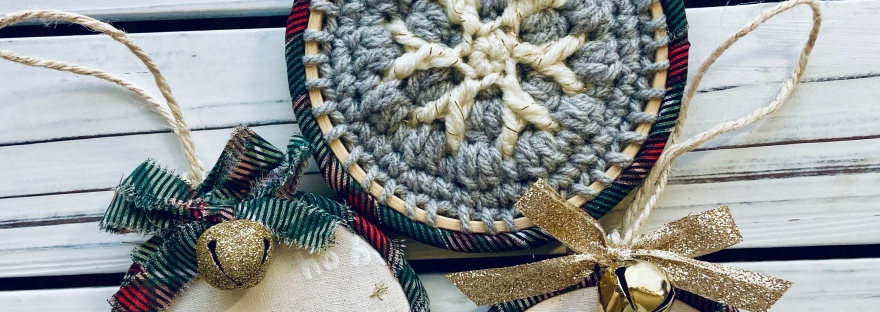
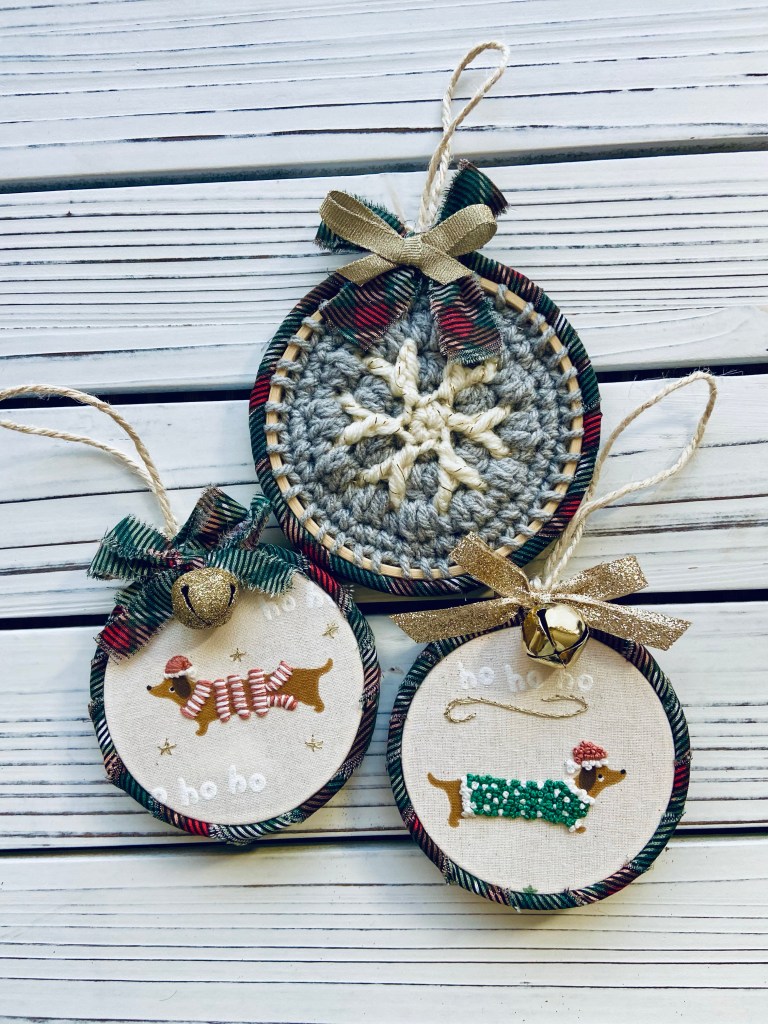
I’m so excited to share my first blog post under my new name and on my updated site! These little ornaments are super fun and simple to make. They look beautiful on the tree, and I think they would make a sweet gift for teachers or co-workers. You could even use them to dress up a giftbag or as a handmade touch to include with something like a card or a bottle of wine.


I have prepared a couple versions and will walk you through the basics to assemble the ornament. If you plan to make the version with the mosaic crochet snowflake, you will need a pattern for the motif. You can jump over to Etsy or Ravelry to grab the pattern. My Etsy shop is brand new so I’m offering a 50% off discount through November 30th 2022 on this pattern (in both shops, I know not everyone uses Etsy). Please use the code ETSY50 to activate the discount. If you love this project, I would appreciate it if you leave a review. Thank you so much! Let’s make some ornaments.
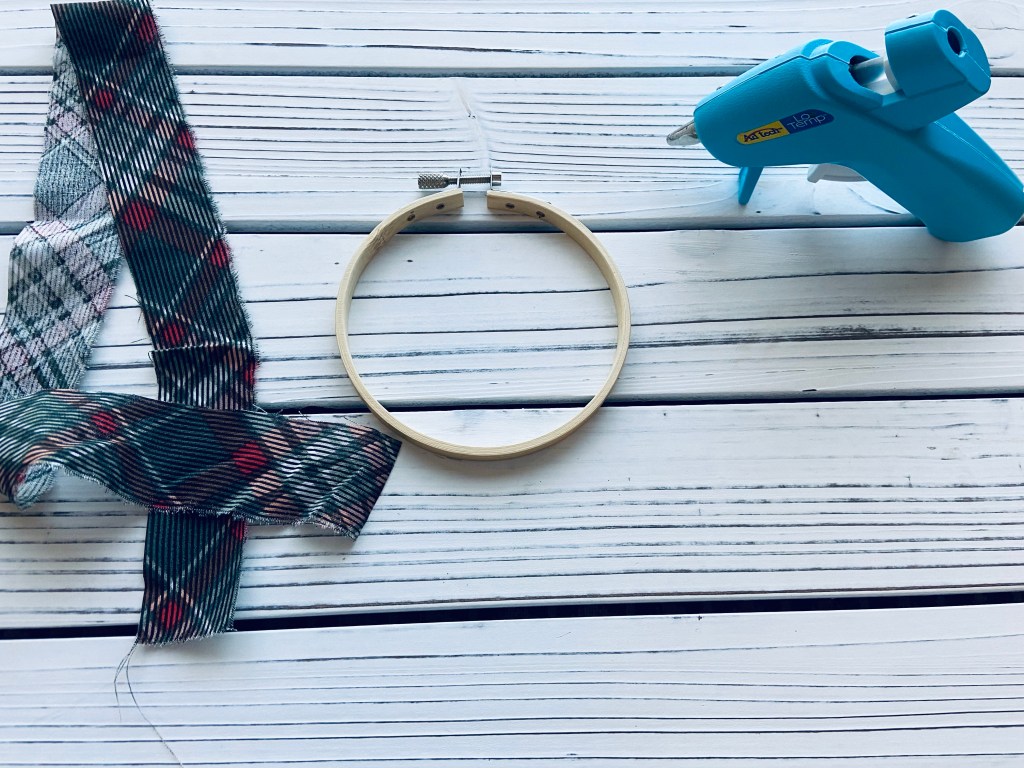
Supplies:
- If making the crochet version, you will need the Mosaic Snowflake Pattern (and if you missed it, scroll up – there is a 50% off discount code that is good through November 30th 2022). You will also need basic crochet supplies (small amounts of yarn, crochet hook and needle – the pattern provides more details).
- If making the embroidered version, you will need a small, approximately 6×6 inch piece of quilting cotton fabric. I used this adorable print I found at Joann Fabrics. You will also need basic supplies – embroidery floss or thread and an appropriately sized needle.
- Embroidery hoop – I used 3 inch hoops for the embroidered ornaments and 4 inch hoops for the crochet versions
- Scissors
- Hot glue gun (or other suitable glue)
- String or ribbon for making a loop to hang
- Ribbon, lace, yarn/twine or scraps of fabric to wrap your hoop and add a bow
- Additional small items like beads, bells, buttons, etc. for accents
- Small scrap of felt – it will need to be large enough to fit your hoop
- Pencil or disappearing ink pen for tracing
Method:
First, you need to create whatever it is you will be framing in your hoop.
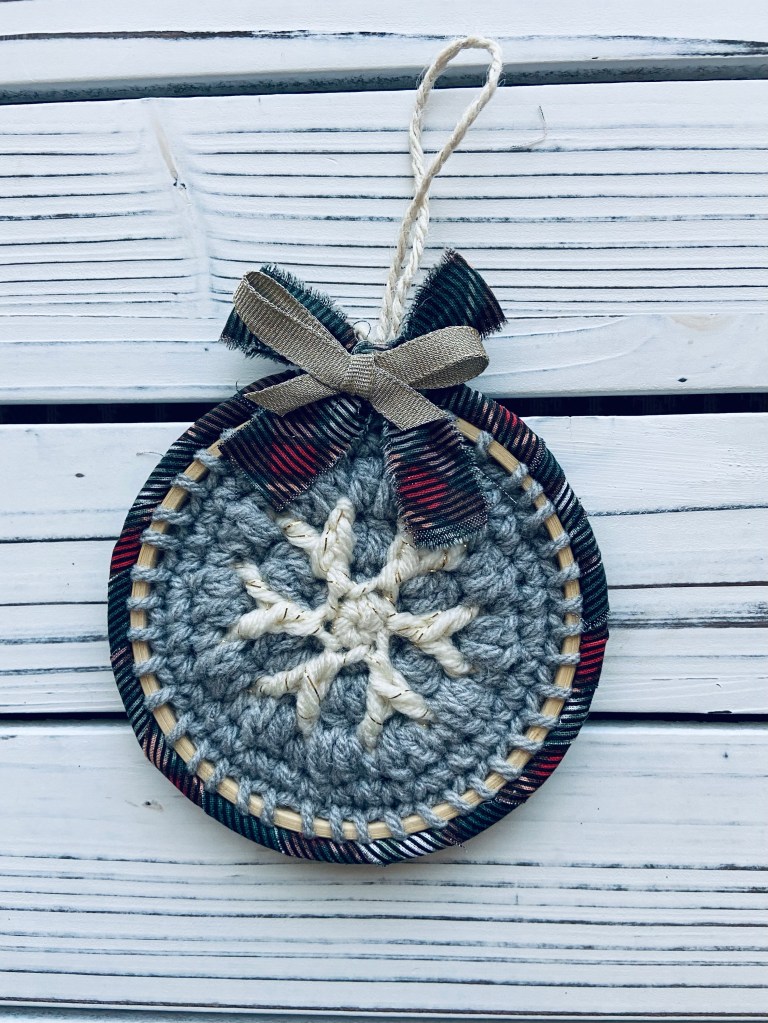
If crocheting, remember you will need a 4 inch embroidery hoop, basic crochet supplies and the pattern (scroll up for a discount code!). Once you work through the pattern, you will have something like this:

If embroidering, you only need to add accent stitches to the fabric. It’s so easy! If you have never embroidered, this is a great time to start.
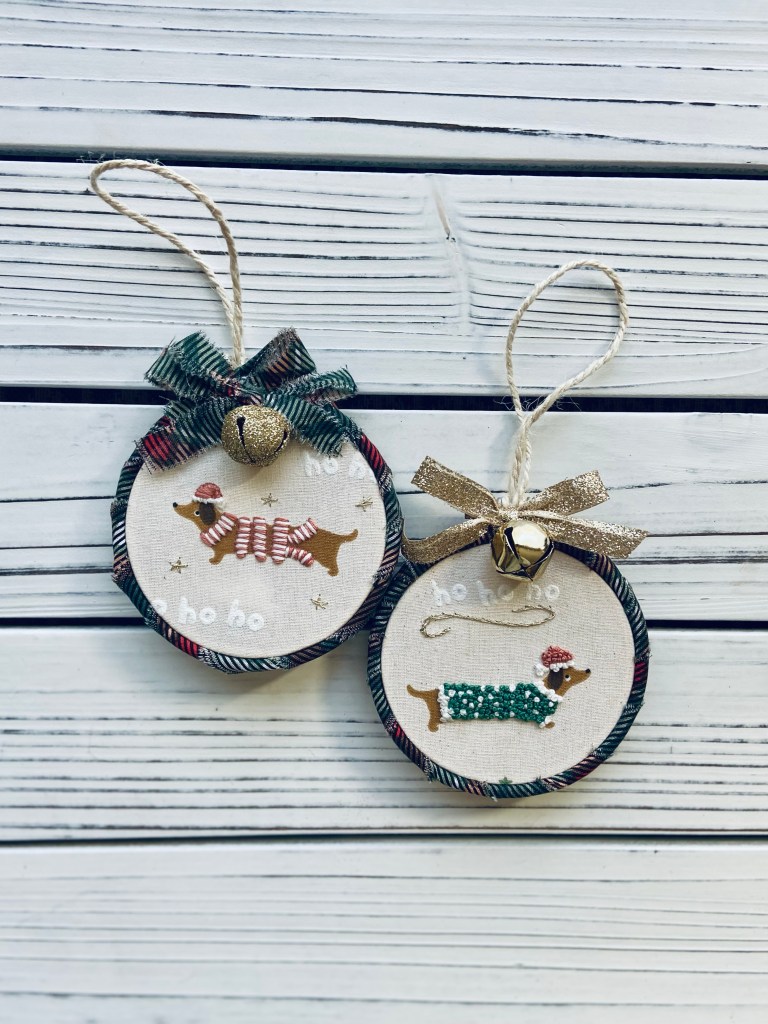
For this project, I recommend quilting cotton, but you can embroider just about anything if you are mindful of things such as the fabric’s thickness, the tightness of the weave and the stretch. When I chose my fabric, I really liked that the “scenes” were far enough apart that I could neatly frame one dog in a hoop. You could certainly use a fabric with more of a “busy” print, but be mindful of how that will impact the finished look you are trying to achieve. Trim the fabric down (approximately 6 inches square with your preferred section centered) and place it in the hoop. Then, add stitches to bring the design to life and to add some texture or sparkle. I used very basic, tiny stitches, back stitches and french knots for mine. I also chose to use 2-4 strands of embroidery floss for a more delicate look. After you have finished adding as many stitches as you like, you are ready to move on.
Take the felt (which will be used to back the ornament) and the outer hoop. Use a pencil or disappearing ink pen to lightly trace around the outside of the hoop. Then, cut around the circle that you made. Set your felt circle aside.

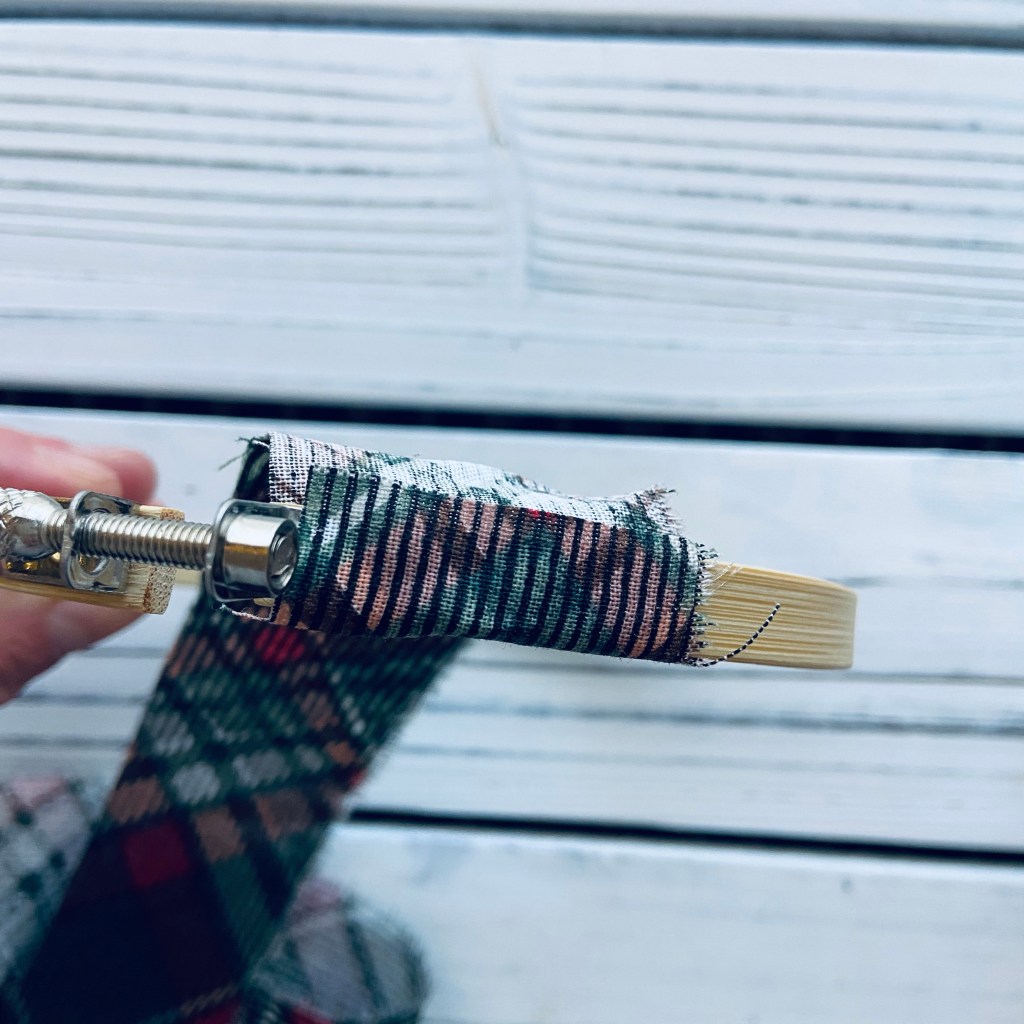
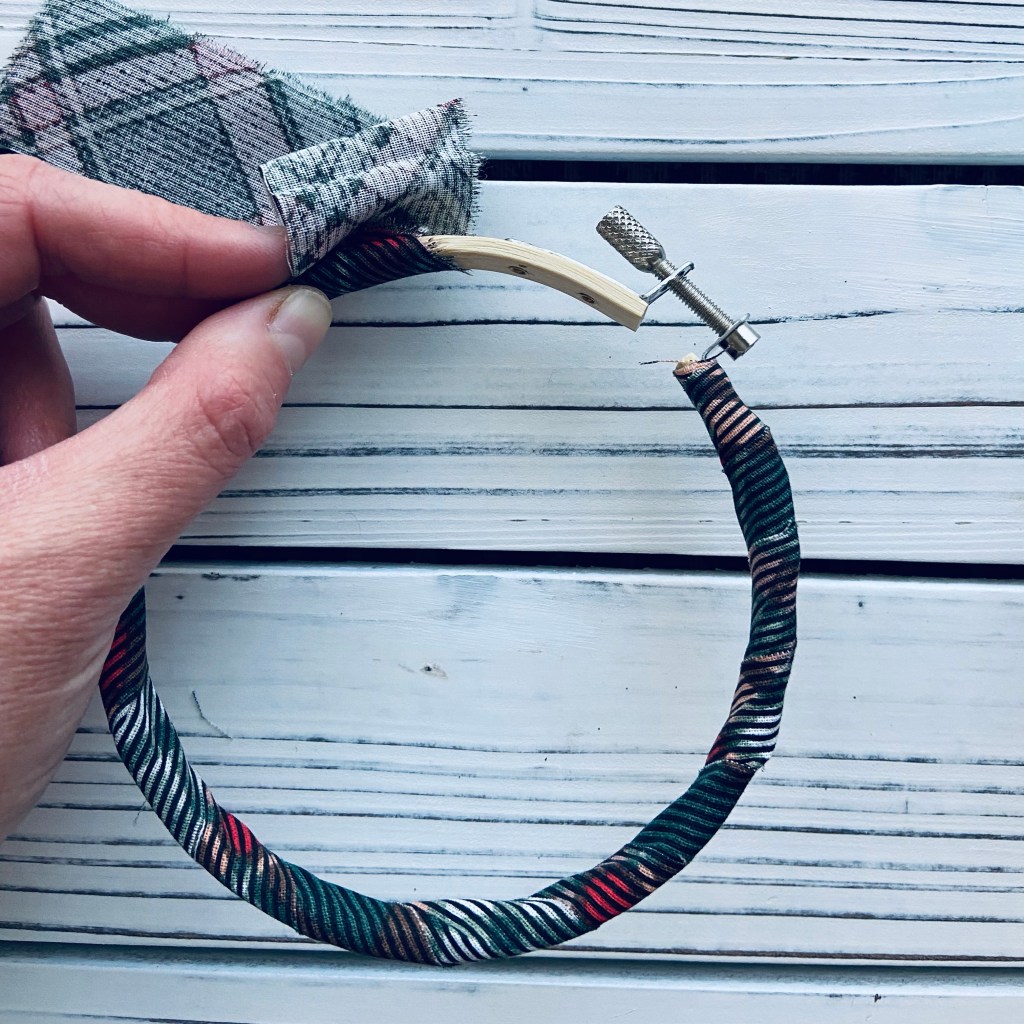
Grab your scraps of fabric – I made a small slit and then ripped my fabric into strips because I like the rustic look the slightly frayed fabric creates. You could also use something like yarn or ribbon instead of fabric. Apply a small dab of hot glue at the top of the hoop, very close to the hardware and adhere one end of the fabric (or material of choice). Wrap tightly around, overlapping as necessary. When you make it around and your hoop is covered, apply more glue to adhere the other end.

Assemble your embroidery hoop. Use the screw at the top of the hoop to attach a string or ribbon for hanging. Use scraps of fabric, ribbon or other embellishments to cover the screw. I used bows made from scraps of fabric and ribbon, as well as tiny bells. I hot glued it all in place. I think these would also look cute with greenery or flowers, but I didn’t have any on hand – so many possibilities. I will be making more!
If you used fabric for the inside of your hoop, gently trim down the edges, leaving about a half inch of fabric all around. Then, carefully fold the fabric over the hoop and glue it down along the inside edge.


Finally, place the felt over the back of the ornament and hold in place. Take a look from the front and trim down the felt slightly if needed. You don’t want it showing from the front, just be careful to not trim it so much that it will no longer cover the back. Once you are satisfied, carefully glue the piece of felt along the perimeter of the hoop to neatly finish everything off. If you are feeling extra fancy, you could embroider the date, a little heart or message on the felt too!

Have so much fun with this project!
You are free to share your finished work, to include selling finished items that you create by hand. I ask that you please credit me – A Stitch Whimsy – as the designer to help other makers find my designs!
I really hope you enjoyed this project. I would love for you to tag me on social media @astitchwhimsy and #astitchwhimsy so I can see what you created.


These are darling! Thanks for sharing.
Thank you for being here.