
Lets get started with part 3! Remember, if you want to work ahead, the PDF download is available on Ravelry now and you’ll get a couple of versions – one with and one without pictures – to make printing more practical. Please share your blankets so I can see them. Be sure to use #FelixBlanketRemixed or tag me so I can admire your work.
If you are just starting, please jump back to the Introduction post for supplies and relevant pattern notes. You can also find Part 1 and Part 2.
Pattern:
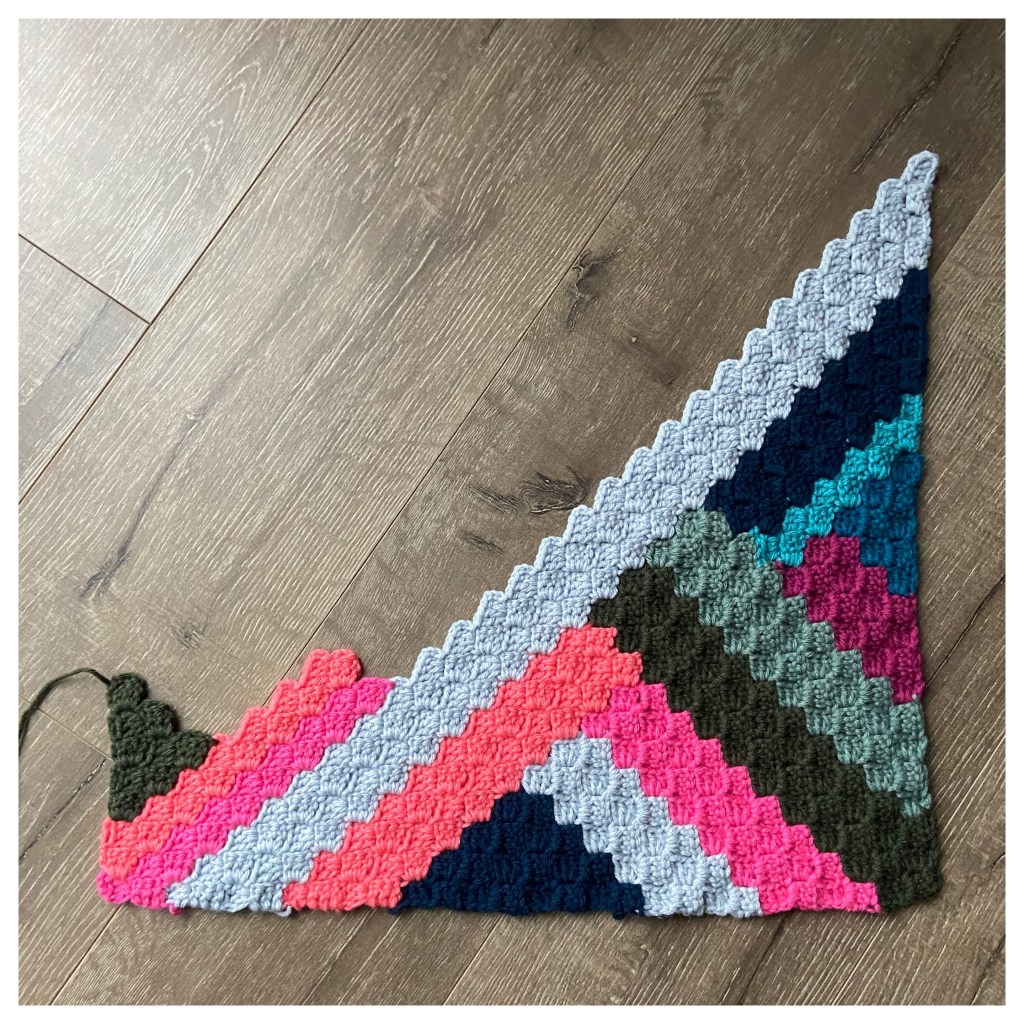
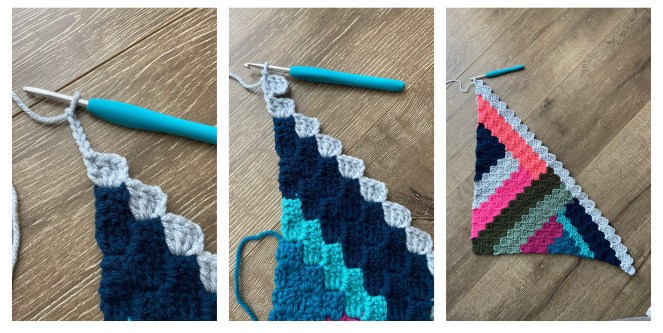
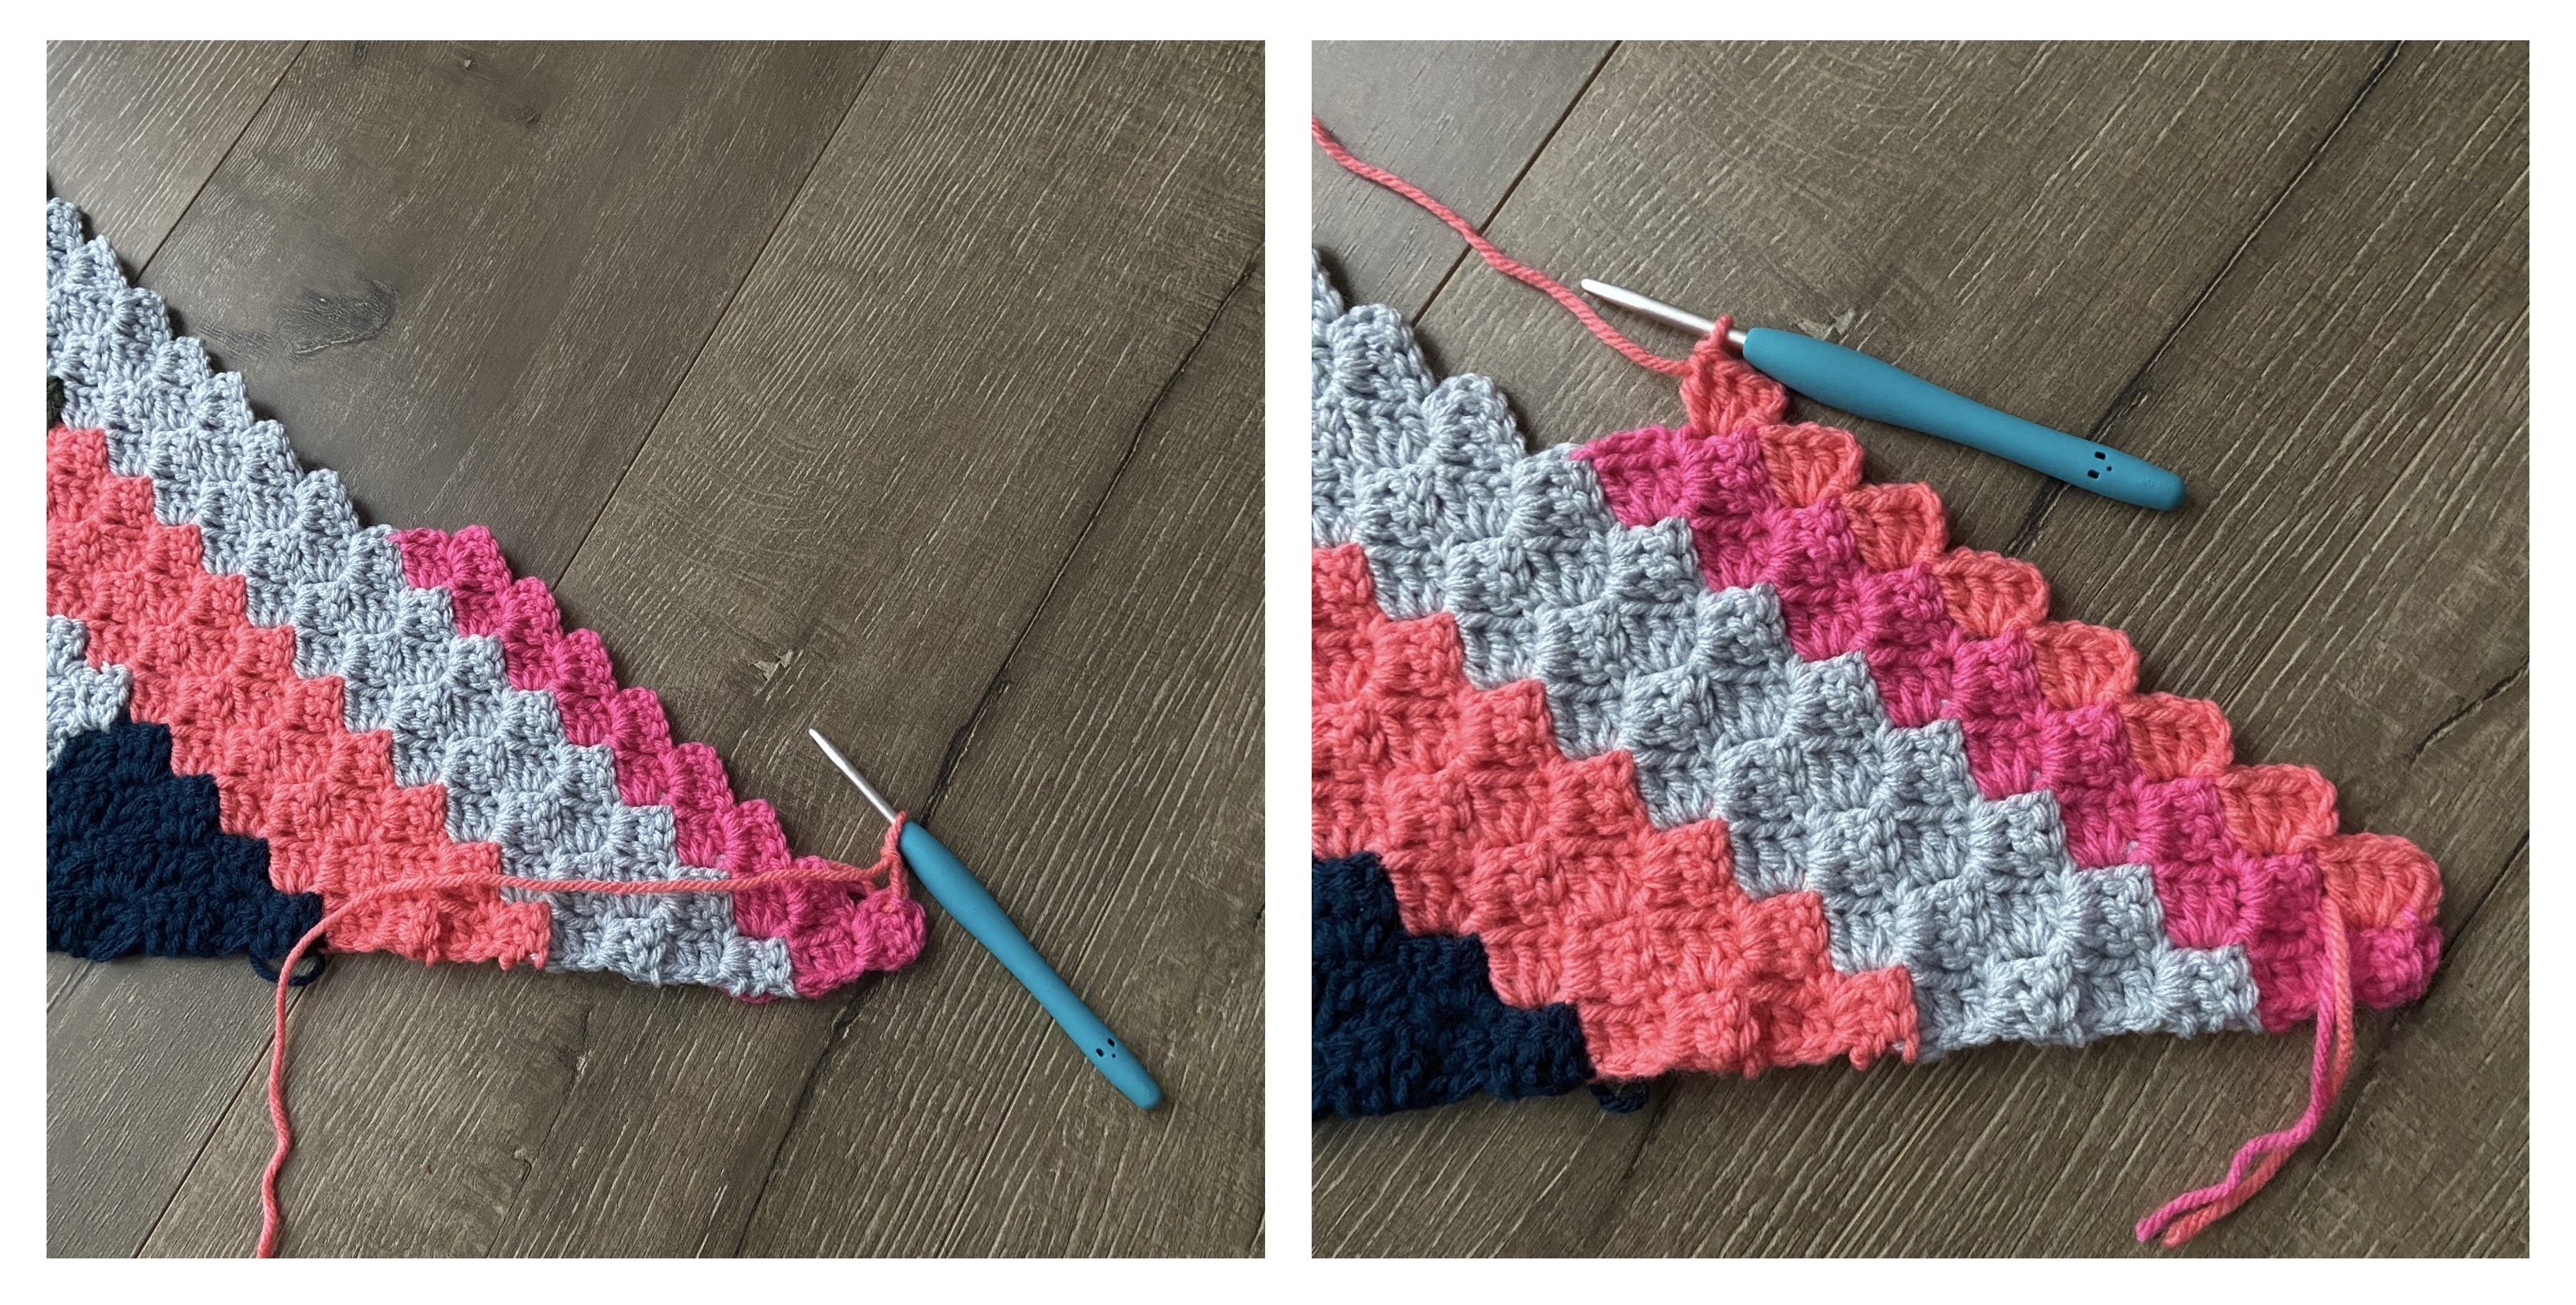
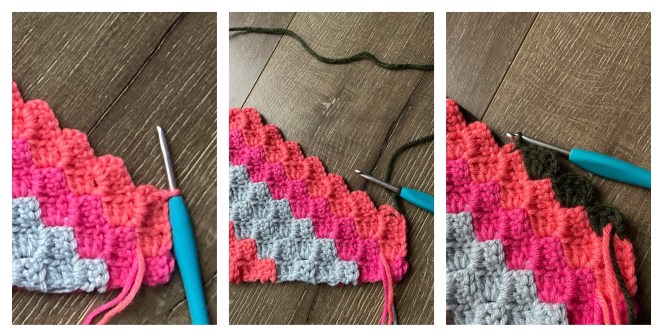
PART 7: Long block of Side B as pictured below. {Smoke}
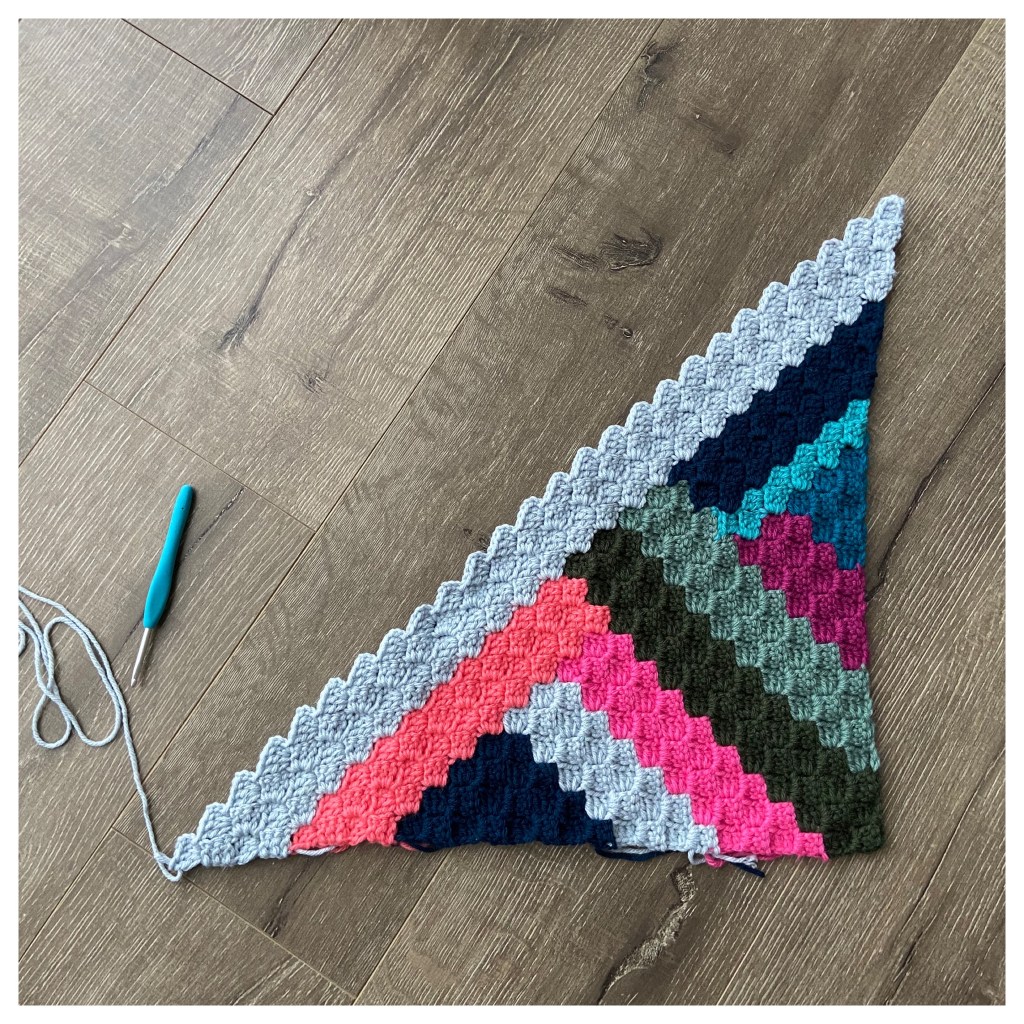
This block is easy. It is just 4 rows of normal C2C.
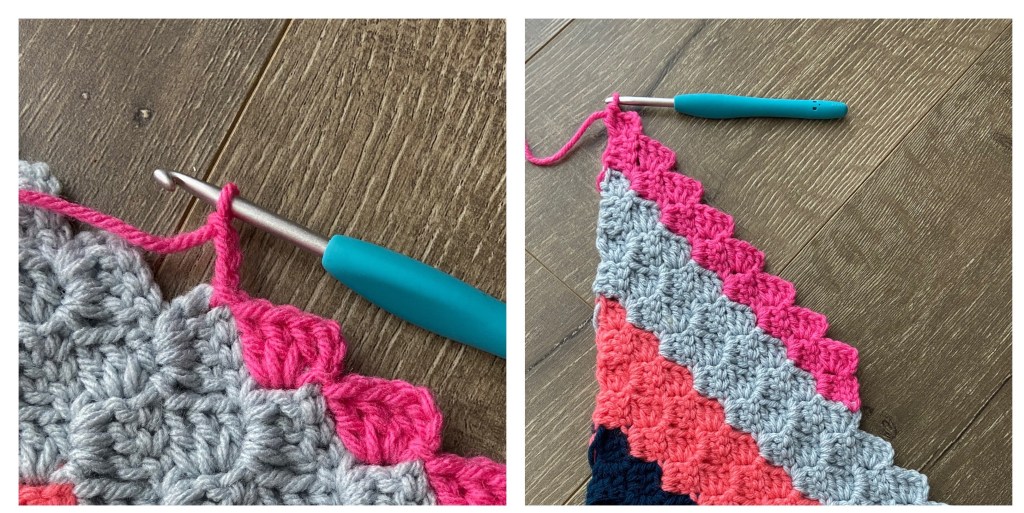
Orient your work with the RIGHT SIDE up and attach new color as indicated below.
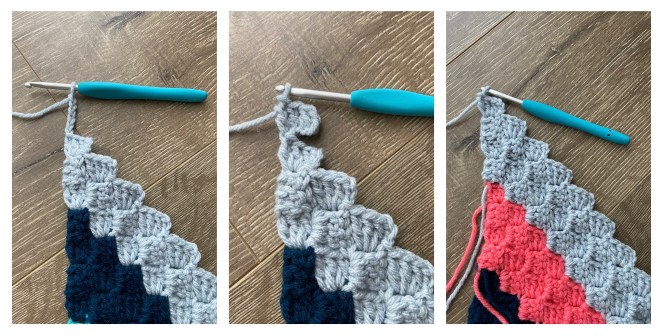
Row 44: INC and work the remaining 22 C2C stitches of the row. (23)
CH 6 and work a DC into the 4th, 5th and 6th CH from the hook. SS into the first CH 3 loop and work the remaining 22 stitches of the row.
Row 45: INC and work the remaining 23 C2C stitches of the row. (24)
CH 6 and work a DC into the 4th, 5th and 6th CH from the hook. SS into the first CH 3 loop and work the remaining 23 stitches of the row.
Row 46: INC and work the remaining 24 C2C stitches of the row. (25)
CH 6 and work a DC into the 4th, 5th and 6th CH from the hook. SS into the first CH 3 loop and work the remaining 24 stitches of the row.
Row 47: INC and work the remaining 25 C2C stitches of the row. (26)
CH 6 and work a DC into the 4th, 5th and 6th CH from the hook. SS into the first CH 3 loop and work the remaining 25 stitches of the row. Fasten off.
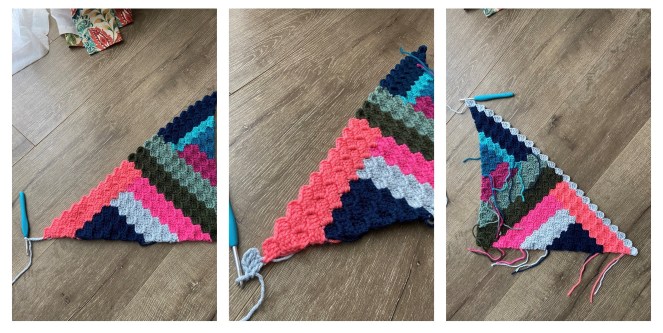
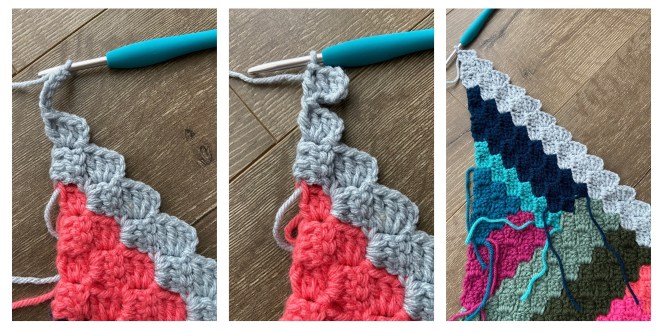
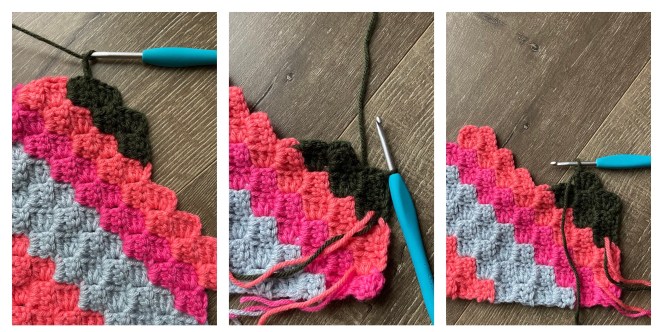
PART 8: First three short blocks of Side B as pictured below. {Lippy, Coral, Deep Forest}
These blocks are like what we did already for Side A – working short rows.
Orient your work with the RIGHT SIDE up and attach new color as indicated below.
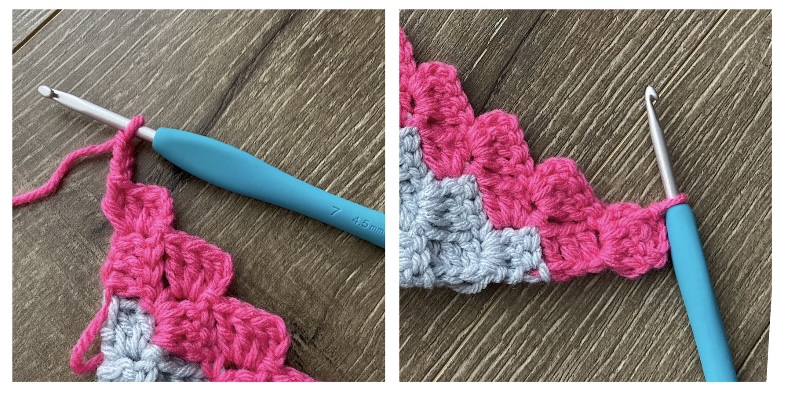
Row 48: INC and work the remaining 7 C2C stitches of the row and SS to the adjacent stitch. (8)
CH 6 and work a DC into the 4th, 5th and 6th CH from the hook. SS into the first CH 3 loop and work the remaining 7 stitches of the row. Then SS into the adjacent stitch.
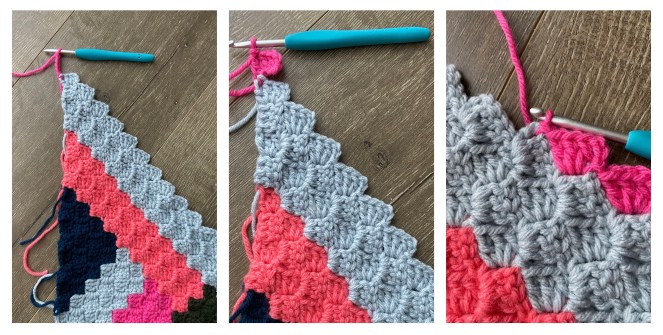
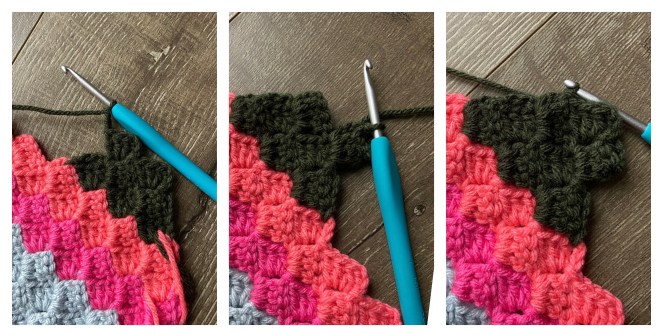
Row 49: DEC and work the remaining 8 C2C stitches of the row. (8)
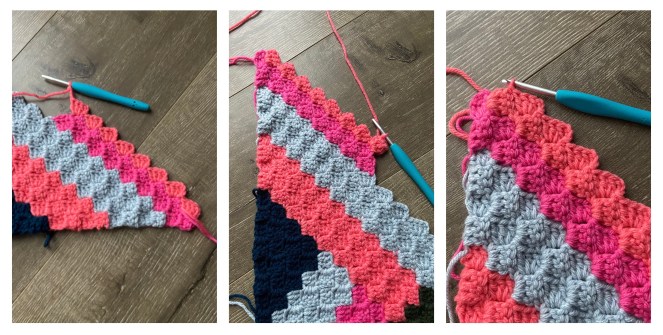
Row 50: DEC. Fasten off and attach new color in the same spot. Then work 8 C2C stitches. (8)
DEC, or in other words, CH 3 and SS into the CH 3 loop of the previous stitch – the C2C stitch you just made. Fasten off. Attach new color in same spot. Then continue and work the 8 stitches of the row.
Row 51: DEC and work the remaining 7 C2C stitches of the row. SS to the adjacent stitch. (7)
CH 3 and SS into the CH 3 loop of the previous stitch – the C2C stitch you just made. Now work the 7 stitches of the row. Then SS into the adjacent stitch to join.
Row 52: DEC. Fasten off and attach new color in same spot. Then work 3 C2C stitches. SS to join to adjacent stitch. (3)
DEC or in other words, CH 3 and SS into the CH 3 loop of the previous stitch – the C2C stitch you just made. Fasten off. Attach new color in the same spot. Then continue and work the 3 stitches of the row starting with CH 3 and 3 DC. SS to the adjacent stitch.
Row 53: DEC and work the remaining 2 C2C stitches of the row. SS to join to adjacent stitch. (2)
CH 3 and SS into the CH 3 loop of the previous stitch – the C2C stitch you just made. Now work the 2 stitches of the row. SS to join to adjacent stitch.

Row 54: DEC and work the remaining 2 C2C stitches of the row. (2)
CH 3 and SS into the CH 3 loop of the previous stitch – the C2C stitch you just made. Now work the 2 stitches of the row.
Row 55: DEC and work the remaining 1 C2C stitches of the row. SS to join to adjacent stitch. (1)
CH 3 and SS into the CH 3 loop of the previous stitch – the C2C stitch you just made. Now work the 1 stitches of the row. SS to join to adjacent stitch.
Row 56: DEC and work the remaining 1 C2C stitches of the row. (1)
CH 3 and SS into the CH 3 loop of the previous stitch – the C2C stitch you just made. Now work the 1 stitches of the row.

*As with before, a chain 3 loop needs to be created before fastening off so that we can work on top of this last stitch. So work one last decrease by making a CH 3 and SS into the previous stitch – the C2C stitch you just made.*

Fasten off.
Repeat this process for each of your panels.
That’s it for Part 3! I hope you are enjoying this project. Please be sure to share your progress so I can see your beautiful creations. Part 4 will be released on Thursday, June 9th.
You are free to share your finished work, to include selling your finished products, but please credit me – SheMakesCrochet – as the pattern designer. Please do not distribute this pattern or any portion of it, instead direct people to my blog. THANK YOU!

